|
We had been asked to create a poster design based on words that were connected with a month of the year. Before we were able to start working on the poster my group members had to do some research in a document (linked below). The first Idea I had was with Optimism when I had done research on optimism I had saw that the definition of optimism was to look at everything good in life.
Link to Project Research
0 Comments
During this assignment we were told you use a picture of a cloud that Mr. Means had taken. To flip it horizontally and use a layer mask with a gradient to blend the two halves together. After Making the image symmetrical I used Command-Alt-Shift-E to make a new layer that was of what I already made. With the layer I had created with Command-Alt-Shift-E I flipped it vertically. Finally I had duplicated everything that I had done up to this point then I rotated the layer 90 degrees. With the layer I just rotated I then used a layer blending mode to have the cloud show through. Then cropped out the parts that were still showing to make the image a square.
During this assignment we were told to take a photo of an object that is outside. I first flipped the image horizontally and used a layer mask to make the image symmetrical. After Making the image symmetrical I used Command-Alt-Shift-E to make a new layer that was of what I already made. Finally I had duplicated everything that I had done up to this point then I rotated the layer 90 degrees. With the layer I just rotated I then used a layer blending mode to have the cloud show through. Then cropped out the parts that were still showing to make the image a square. Then Juan had though of a brilliant idea to rotate the image again at a 45 degree angle and it ended up looking really awesome.
This pattern was made of different symbols that I got from a branch of the symbols tool called florid vector pack. The original object in the pattern had two of the same object reflected to make the object symmetrical. Before I started making the pattern I saw someone else's pattern and thought that I looked victorian so I ended up making a couple that appear as if they were a victorian wallpaper. The two tutorial that I watched were the radial balance and the creating patterns just to refresh my memory on where I can access them in Illustrator.
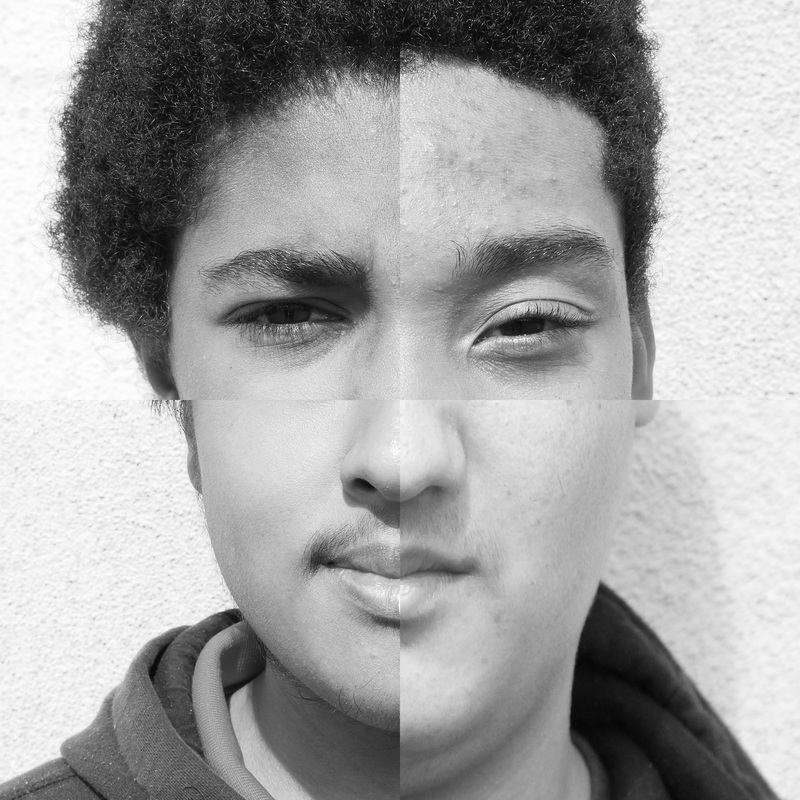 What we were told to do in this project is use a 4th of someone's face to make a whole face. The top left is Kobe Lawson, Top Right is Marquis Hunter, Bottom right is me, and the Bottom left is Mitchel Chareunsouk. I noticed that my lips and Mitchel's lips didn't line up correctly so I use the puppet warp tool to make my lips line up correctly. I want people to notice that my lips and nose line up with Mitchel's lips and nose.
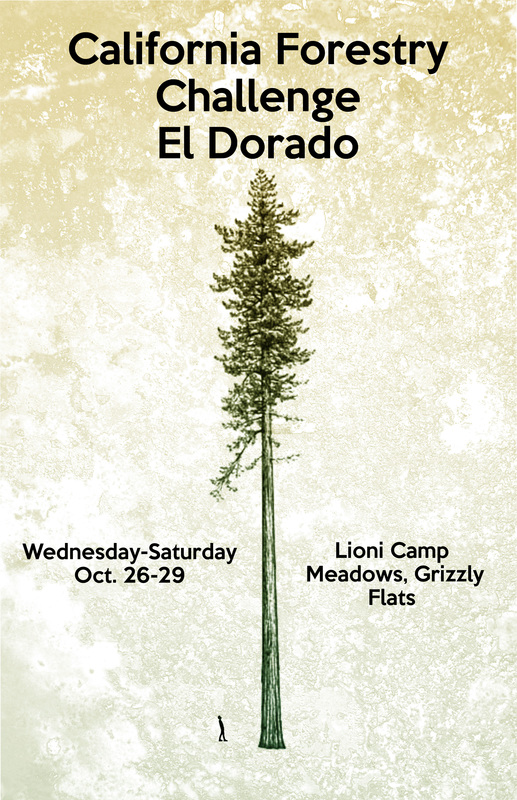 When we were first told about the poster project I immediately thought about making a advertising poster for forestry challenge. I made the Redwood Tree the focal point of the poster because in the book we are reading for forestry has a lot of information about Redwood Trees. When choosing the font I wanted to get a font that the closest to the font that is on the official website. The poster has a gradient of the entire image on a layer blending mode. I learned how to make a custom brush and I used it to make a image that I had and like larger than the original image.
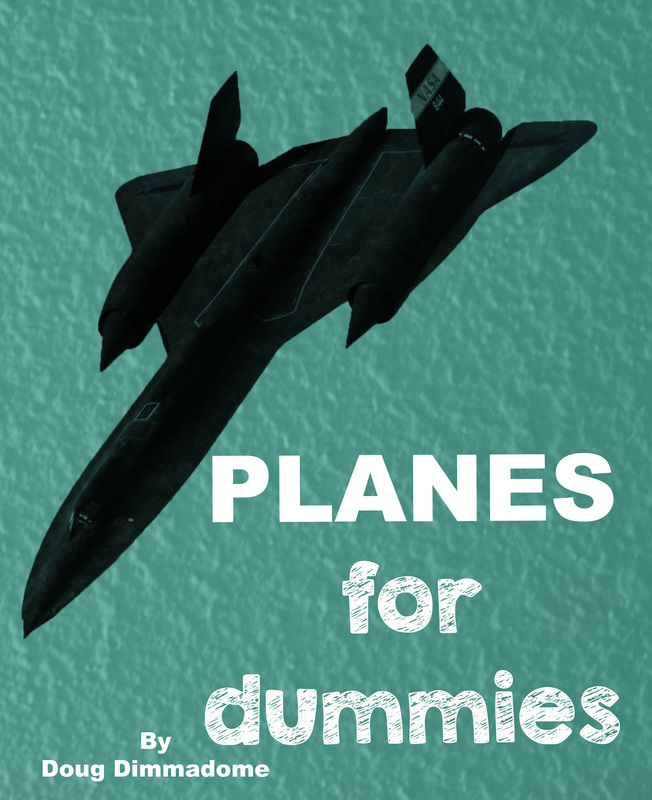 When thinking of what I could make a custom brush out of I turned a around and saw that Aidan was looking at planes. Then, I thought that it was a great idea so I started looking at jet planes. When looking through the jet planes I remembered playing BO1 and the mission where you got to be the pilot of one of these planes.
For this assignment we were told to take a photo were we could have a image from the internet look like it is coming out of us. To make the image just show up where I wanted it to go I used a layer mask. After using the layer mask for the image, I used an Adjustment Layer to make the subject black and white. I also used Adjustment Layers to make my background more vibrant that the color I sampled from the image that is over the subject.
In this assignment we where told to have our partner take a photo of us posing. Before we were told to take photos we were shown different example of what the assignment should end up looking like. In the example we were told that we can use the rule of third when posing. Once we told the photo we then moved it to Photoshop, while in photoshop I dragged in the texture and used a blend to make it possible to see my face in the final result.
For this assignment we were told to make a humanoid figure using character from a font. this assignment was fun because we were able to have free range on what the thing looked like at long as it had a head, arms, and legs.
|
AuthorWrite something about yourself. No need to be fancy, just an overview. Archives
November 2016
Categories |
 RSS Feed
